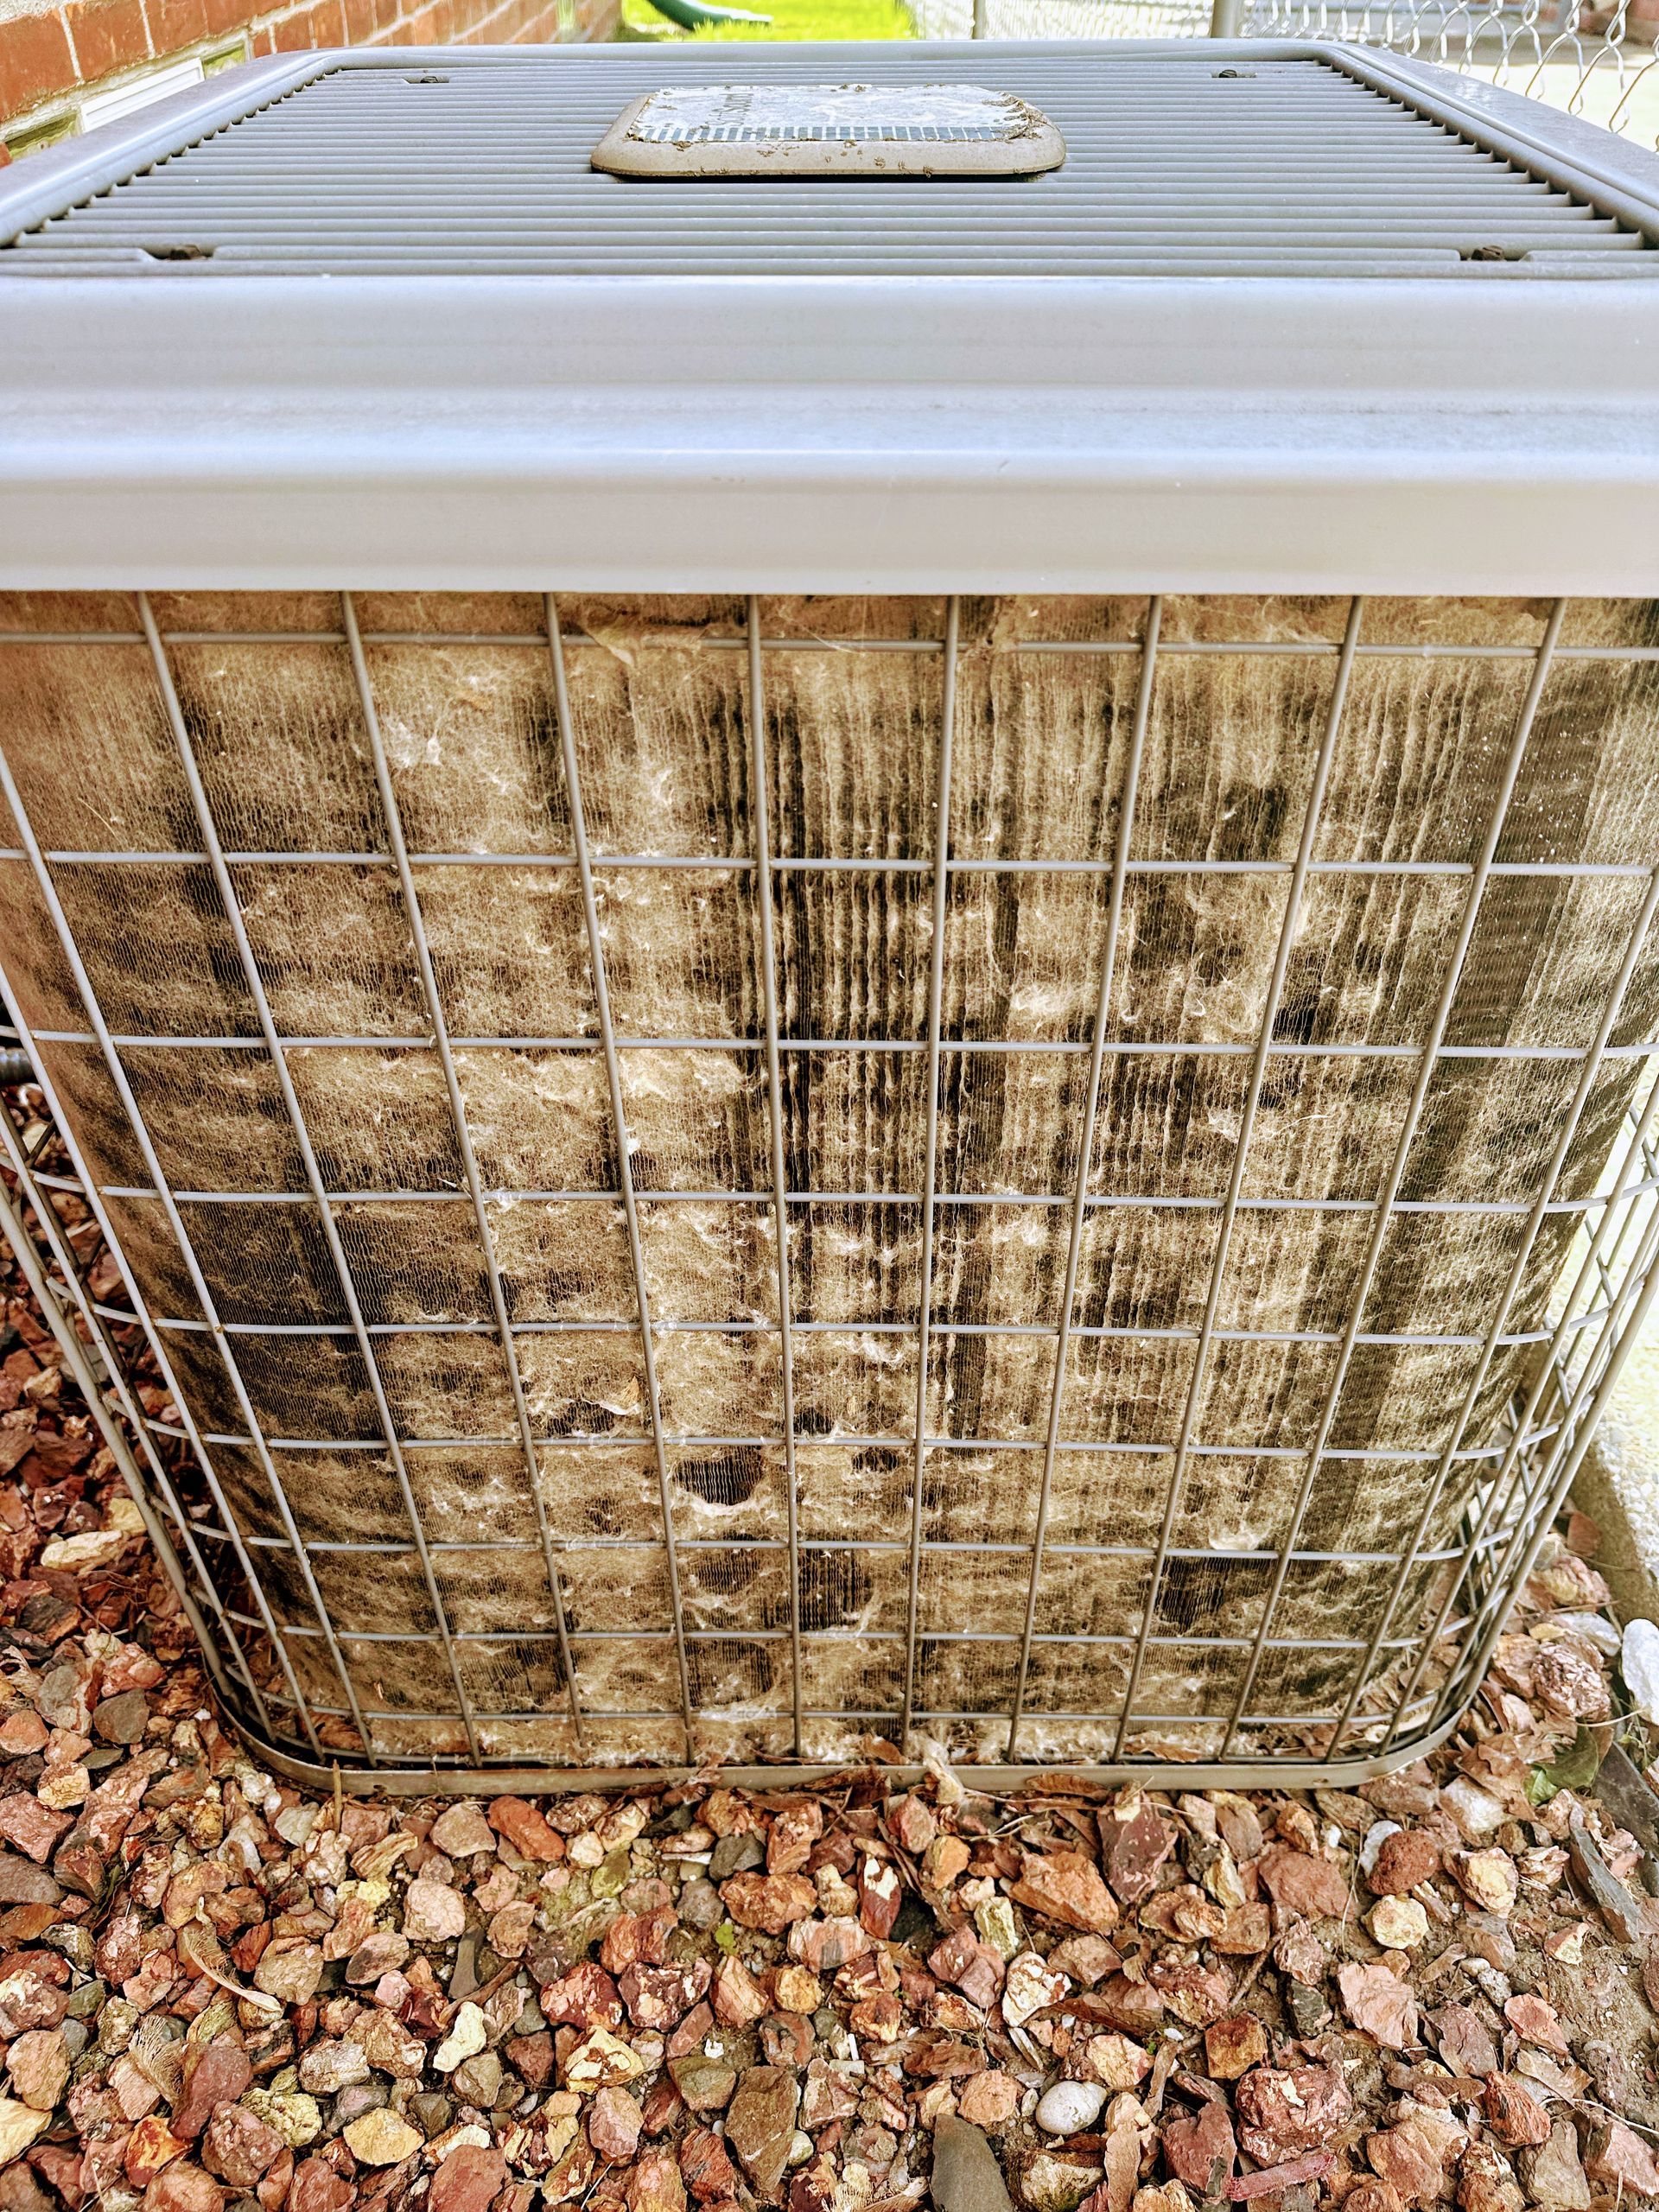
DIY tips for troubleshooting your AC unit while you wait for your HVAC technician

### 1. **Examine the Outdoor Unit**
- **Clear Debris:** Ensure the outdoor unit is free of debris, such as leaves, dirt, or branches, which can obstruct airflow.
- **Condenser Coils:** Clean the condenser coils gently using a garden hose. Avoid using a pressure washer as it can damage the coils.
- **Fan Operation:** Make sure the fan in the outdoor unit is spinning. If it’s not, there may be an issue with the fan motor or capacitor.
### 2. **Check the Thermostat**
- **Ensure it's On:** Make sure the thermostat is set to "cool" and the temperature setting is below the current room temperature.
- **Battery Check:** Replace the batteries if the thermostat is not working or is displaying a low battery warning.
- **Settings:** Ensure the fan is set to "auto" or "on" as required.
### 3. **Inspect the Air Filter**
- **Clogged Filter:** A dirty air filter can restrict airflow, causing the unit to freeze up or not cool effectively. Replace the filter if it’s dirty.
- **Replacement Frequency:** Typically, filters should be replaced every 1-3 months depending on usage and filter type.
### 4. **Check the Circuit Breaker**
- **Power Supply:** Ensure the AC unit’s breaker hasn’t tripped. Reset it if necessary.
- **Main Panel:** Check the main electrical panel to ensure the AC unit has power.
### 5. **Inspect the Indoor Unit**
- **Condensate Drain:** Check if the condensate drain is clogged. A clogged drain can cause water to back up and shut off the unit.
- **Evaporator Coils:** If accessible, check the evaporator coils for ice buildup. Ice indicates either restricted airflow or a refrigerant problem.
### 6. **Listen for Unusual Noises**
- **Banging, Clanking, or Grinding:** These noises can indicate a loose or broken part inside the compressor or fan.
### 7. **Check for Airflow**
- **Vents:** Ensure all supply and return vents are open and unobstructed.
- **Weak Airflow:** Weak airflow can indicate a problem with the blower motor, a clogged filter, or ductwork issues.
### 8. **Assess the Refrigerant Lines**
- **Insulation:** Ensure the refrigerant lines (usually copper) are properly insulated. Missing or damaged insulation can reduce efficiency.
- **Frost:** Frost or ice on the refrigerant lines can indicate a low refrigerant level or poor airflow.
### 9. **Verify the Drain Line**
- **Clogged Drain Line:** Check if the drain line is clear. A clogged line can cause water damage and reduce cooling efficiency.
- **Safety Switch:** Some units have a safety switch that shuts down the AC if the drain line is clogged.
### 10. **Reset the System**
- **Power Cycle:** Turn off the AC unit and thermostat for 5-10 minutes and then turn them back on. Sometimes a simple reset can resolve minor issues.
If these troubleshooting steps don’t resolve the issue, it’s best to wait for your HVAC technician to perform a more thorough diagnosis and repair. Remember to always prioritize safety and if you’re unsure about any step, it’s better to wait for professional assistance.


